I'll try again towards the weekend.
Will try heat and extra long pry bar only for now...
I do have a bench vice but it's not bolted down, well not yet.

NATURAL ANKLING wrote:Are you going the right way undoing it

Brucey wrote:I'd say that better quality (guaranteed/warranted) socketry is called for....
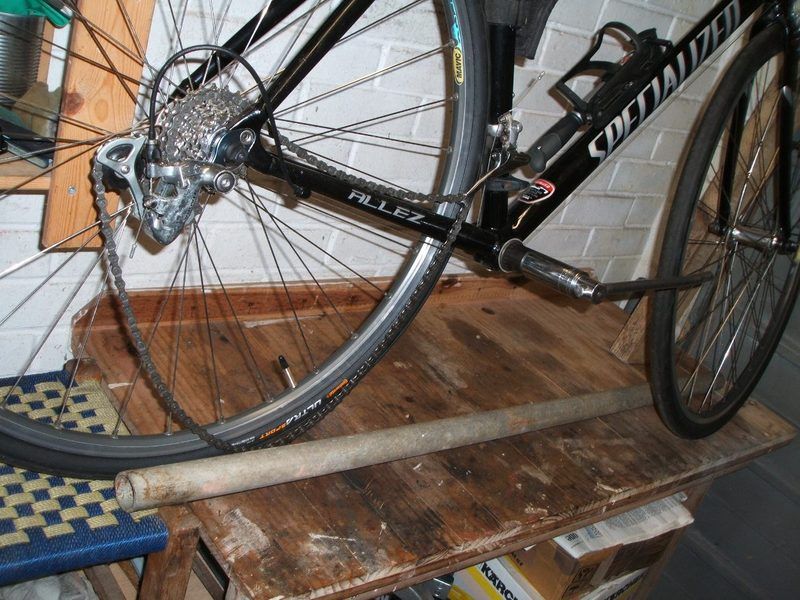
I may have mentioned this before but I have a 3/4" drive breaker bar

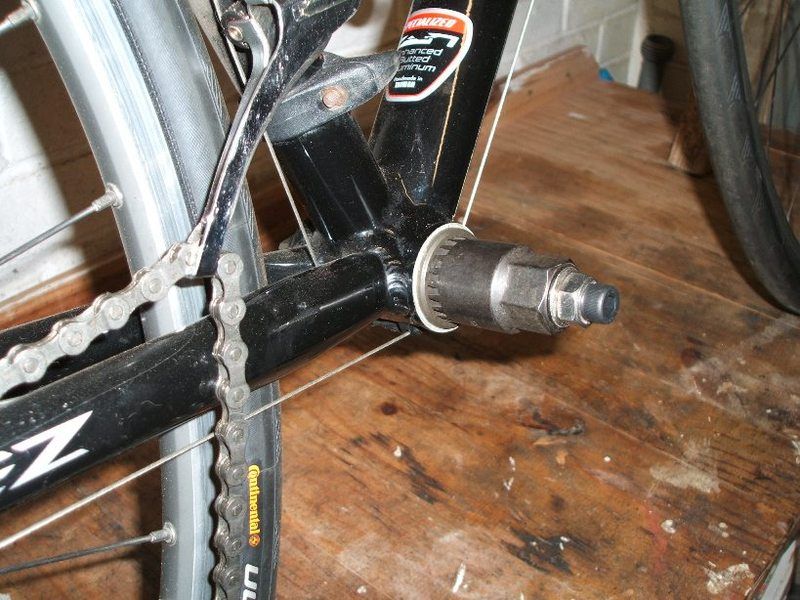
Pneumant wrote:I can't believe how tight your BB isHave you tried heating this up? This may help loosen any thread-lock type bond. Remove the tool bolt and insert a HOT soldering iron for 20 mins or so,
NATURAL ANKLING wrote:Hi,
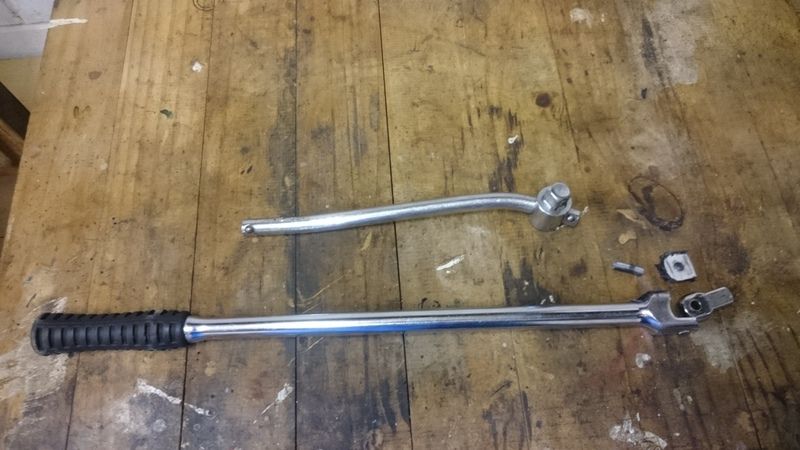
Quality 1/2" flexi bar (like the busted one) will be more than man enough.
Are you going the right way undoing it
andrew_s wrote:When I had a difficult UN72 to remove, I used a 32 mm ring spanner on a bolted down remover, and jumped up and down on the end of it.
(It seems my photobucket hasn't died yet)
I did also try my largest adjustable spanner but the force was just opening up the jaws.
NoIdea wrote:Got the bolt today - M8 1.0mm fine thread 60mm length.

slowster wrote:Where something is seized, I would try repeatedly (lightly) tapping the handle of the spanner/driver numerous times with a hammer to try to break the seal first, rather than just going straight to applying very high levels of torque.


